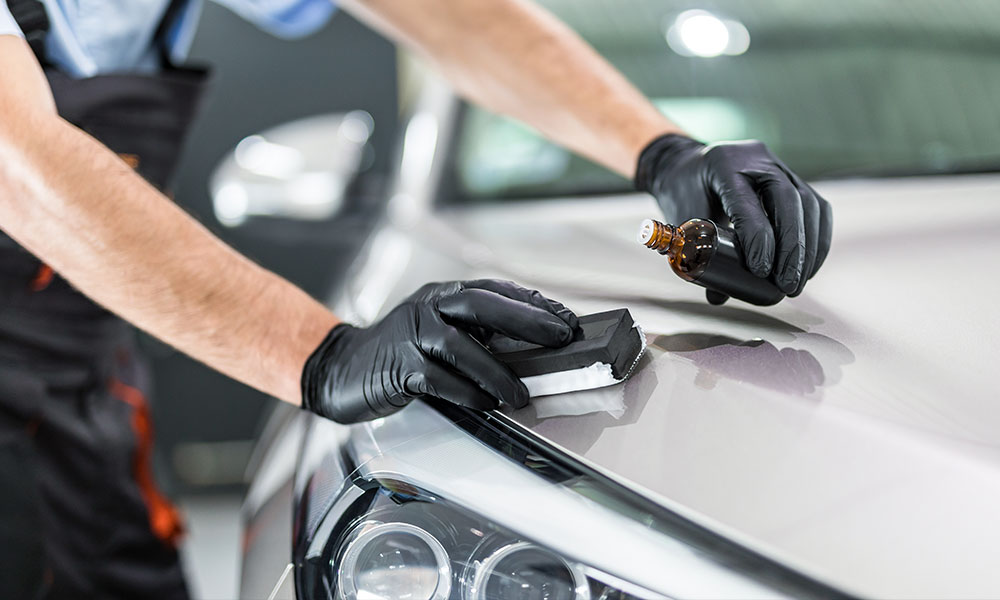
Car detailing at home can be a rewarding experience that saves you money while keeping your vehicle looking its best. With the right products and a systematic approach, you can achieve a sparkling finish that rivals professional results. This guide will walk you through the essential products and steps needed for DIY car detailing.
Essential Products for DIY Car Detailing
Before you start, gather these essential products to ensure a thorough and effective detailing session:
Car Shampoo
Buckets (Two-Bucket System)
Microfiber Wash Mitt
Clay Bar Kit
Polish and Polishing Pads
Car Wax or Sealant
Wheel Cleaner and Brushes
Interior Cleaner
Vacuum Cleaner
Glass Cleaner
Microfiber Towels
Step-by-Step DIY Car Detailing Process
1. Start with the Wheels
Why It Matters
Cleaning your wheels first prevents dirt and grime from splashing onto clean paint.
How to Do It
Rinse the Wheels: Use a hose to remove loose dirt.
Apply Wheel Cleaner: Spray a dedicated wheel cleaner on the wheels and let it sit for a few minutes.
Scrub with Brushes: Use a wheel brush to scrub the wheels, including the nooks and crannies.
Rinse Thoroughly: Rinse off all the cleaner and grime.
2. Wash the Exterior
Why It Matters
Proper washing removes surface dirt and prevents scratches during the detailing process.
How to Do It
Two-Bucket System: Fill one bucket with soapy water and the other with clean water for rinsing.
Rinse the Car: Use a hose or pressure washer to rinse off loose dirt.
Wash with Mitt: Dip a microfiber wash mitt in the soapy water, wash the car in sections, and rinse the mitt in the clean water bucket before re-soaping.
Rinse Again: Thoroughly rinse the car to remove all soap.
3. Clay Bar Treatment
Why It Matters
A clay bar removes bonded contaminants that washing alone can’t eliminate, making the paint smooth.
How to Do It
Lubricate the Surface: Spray a clay lubricant on a small section of the car.
Use the Clay Bar: Gently glide the clay bar over the lubricated area until it moves smoothly.
Wipe Clean: Use a microfiber towel to wipe off the lubricant and contaminants.
4. Polish for Perfection
Why It Matters
Polishing removes minor imperfections and restores the paint’s clarity and depth.
How to Do It
Apply Polish to Pad: Apply a small amount of polish to a polishing pad.
Polish in Sections: Use a dual-action polisher to work the polish into the paint in small sections.
Buff Off Residue: Use a clean microfiber towel to remove the polish residue.
5. Apply Wax or Sealant
Why It Matters
Wax or sealant provides a protective layer and enhances the shine of your paint.
How to Do It
Apply Evenly: Use an applicator pad to apply a thin, even layer of wax or sealant.
Allow to Cure: Follow the product instructions for curing time.
Buff to Shine: Use a microfiber towel to buff off the residue, revealing a glossy finish.
6. Clean the Interior
Why It Matters
A clean interior enhances your driving experience and preserves your car’s value.
How to Do It
Vacuum Thoroughly: Use a vacuum with attachments to clean seats, carpets, and crevices.
Clean Surfaces: Use an interior cleaner appropriate for your car’s materials (plastic, leather, fabric).
Condition Leather: If you have leather seats, apply a conditioner to keep them supple.
Clean Windows: Finish by cleaning the interior windows with a streak-free glass cleaner.
7. Final Touches
Why It Matters
The final touches ensure every detail of your car looks perfect.
How to Do It
Detail Trim: Use a trim restorer to rejuvenate plastic and rubber trim.
Polish Exhaust Tips: Clean and polish exhaust tips with a metal polish.
Dress Tires: Apply tire dressing for a rich, black finish.
Conclusion
DIY car detailing can be a satisfying and cost-effective way to keep your vehicle looking brand new. By following these steps and using the right products, you can achieve a sparkling finish that protects and enhances your car’s appearance. Regular detailing not only keeps your vehicle looking great but also helps maintain its value and longevity. Happy detailing!


